
Welcome to our comprehensive guide on painting wooden chairs with spray paint. This blog post provides a detailed, step-by-step process to transform your old or worn-out wooden chairs into vibrant, stylish pieces of furniture. Spray painting is an efficient method to refresh your wooden chairs, giving them a new lease of life and protecting the wood.
The importance of spray painting wooden chairs is significant. It allows you to express your creativity and personal style, and serves a practical purpose. Spray paint provides a uniform, smooth finish that is often hard to achieve with a brush. It can reach into crevices and detailed work where a brush might not. Moreover, spray paint dries quickly, is available in a wide range of colors and finishes, and forms a protective barrier against moisture and damage.
By following our guide, you’ll learn the best practices for spray painting, ensuring a professional-looking finish even if you’re a beginner. Let’s dive in and start the transformation! The key to a successful project lies in the combination of patience and thorough preparation. Happy painting!
Preparation for Painting
Proper preparation is essential for a successful and long-lasting paint job, especially when revitalizing a wooden chair. The steps involved in preparing the chair ensure effective paint adhesion and significantly enhance the final appearance.
Start the preparation process by prioritizing sanding. This crucial step involves removing any existing paint or varnish and smoothing the surface. Use medium-grit sandpaper and sand along the grain of the wood to prevent scratches. This creates a clean canvas for painting and allows the wood’s pores to open up, facilitating better paint adhesion.
After sanding, it’s imperative to eliminate dust. Dust particles left behind can mix with the paint, resulting in a coarse and uneven finish. Use a vacuum cleaner with a brush attachment to thoroughly remove any residual dust or debris from the chair.
Once the chair is dust-free, wipe it down with a damp microfiber cloth. This step effectively picks up any remaining particles and primes the surface for painting. Note that the cloth should be damp, not excessively wet, to prevent oversaturation of the wood.
Furthermore, prioritize safety measures throughout the preparation process. Ensure that you work in an area with good ventilation to prevent breathing in dust or fumes. Additionally, wear protective gear such as safety glasses, a dust mask, and gloves. If using any chemical strippers or solvents, carefully follow the manufacturer’s instructions to ensure safe and effective use.
By meticulously following these steps, you can ensure your wooden chair is primed for a successful and enduring paint application. Remember, the key to achieving a flawless finish lies in the thoroughness of the preparation process.
Choosing the Right Spray Paint

Selecting the ideal spray paint for wooden chairs requires careful consideration of various factors. Key considerations include the type of wood, desired finish, and the chair’s intended use. For instance, chairs intended for outdoor use require a paint that can withstand diverse weather conditions, while indoor chairs might benefit from paints offering a wider color spectrum and finishes with less emphasis on extreme durability.
When considering paint types, two popular options are oil-based enamel and acrylic latex, each with distinct advantages and drawbacks. Oil-based enamel is known for its durability and luxurious, glossy appearance. It’s an excellent choice for outdoor furniture or areas prone to heavy usage where durability is paramount. However, it typically requires a longer drying period, and cleaning requires solvents such as mineral spirits.
On the other hand, acrylic latex, being water-based, allows for easy cleanup with just soap and water. It dries quickly and provides a wide array of colors. While it might not match the durability of oil-based enamel, it’s suitable for indoor furniture or items subjected to lighter use.
Regarding brands, Krylon and Rust-Oleum are often praised for their diverse color ranges, user-friendly application, and durable finishes. Both brands offer specific paint lines tailored for wooden surfaces, making them suitable for painting wooden chairs. However, the choice between them should align with your specific requirements and the aesthetic you aim to achieve. Always conduct a test by applying the spray paint on a small, inconspicuous area beforehand to ensure it meets your expectations.
In summary, selecting the right spray paint for wooden chairs involves careful consideration of the wood type, intended chair use, and the desired finish. Evaluating the merits and drawbacks of oil-based enamel and acrylic latex helps in making an informed decision, while reputable brands like Krylon and Rust-Oleum provide reliable options. Happy painting!
Steps for Spray Painting Wood Furniture
Spray painting wooden furniture, such as chairs, can be a rewarding DIY project if done correctly. Here is a thorough guide to help you in the process.
1. Preparation:
Start by thoroughly cleaning the chair. Remove any dust or grime using a damp cloth and ensure the chair is completely dry before proceeding. For chairs with a glossy finish, lightly sand the surface using fine-grit sandpaper. This helps the paint adhere more effectively.
2. Primer Application:
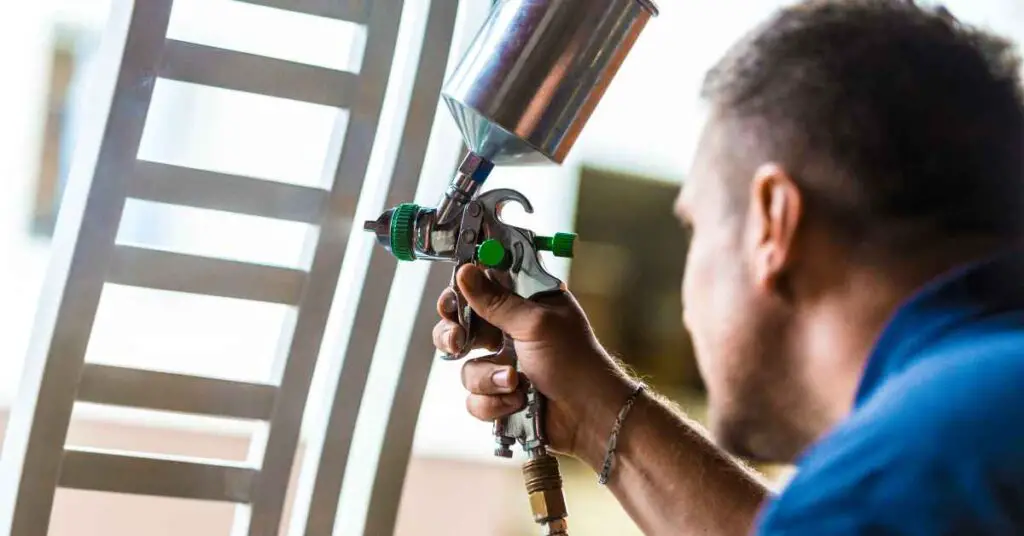
Apply a coat of primer to the chair. The primer serves as a foundational layer for the paint, enhancing its durability and appearance. Shake the primer can thoroughly before use and maintain a distance of about 12 inches from the surface. Spray in a consistent, back-and-forth motion, ensuring slight overlap with each stroke. Always work in a well-ventilated area and wear a mask for safety.
3. Spraying Technique:
Begin by spraying the bottom of the chair first. This allows you to familiarize yourself with the spray pattern and flow rate, ensuring that any potential drips or overspray will be covered when you paint the top of the chair. Maintain a consistent distance from the surface and keep the can moving to prevent buildup and drips.
4. Even Coverage:
Apply the paint in thin, even coats. It’s preferable to apply multiple light coats rather than one heavy coat. Ensure that each coat is completely dried before applying the next one. This approach aids in achieving a smooth and professional finish.
5. Common Mistakes to Avoid:
Avoid spraying too close to the surface or in one spot for an extended period, as this can lead to drips. Additionally, don’t skip the primer or rush between coats. Patience is essential to achieving a high-quality finish.
Remember, practice is the key to perfection. By following these tips and techniques, you can transform your old wooden chairs into stunning pieces of furniture. Happy painting!
Using a Professional Sprayer
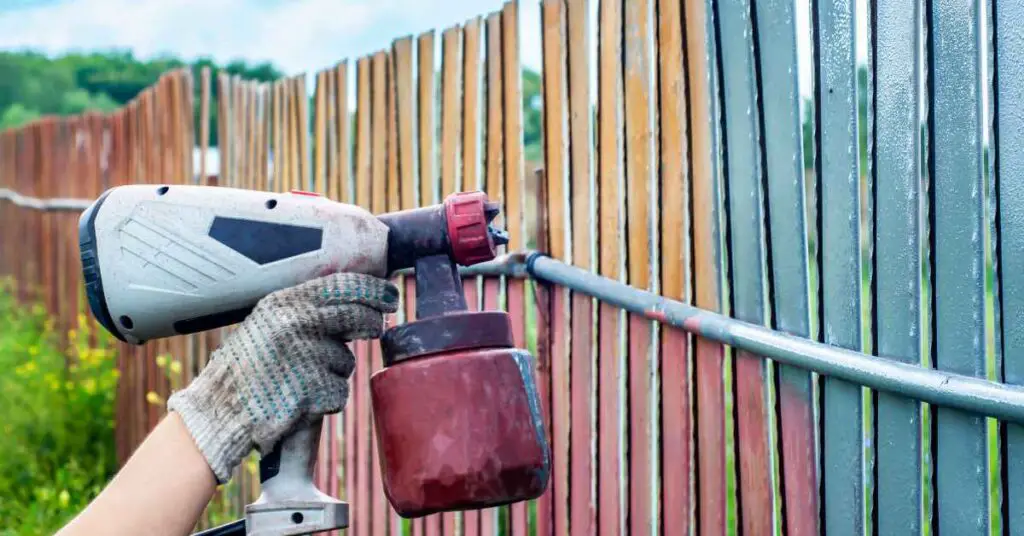
When undertaking painting projects, using a professional sprayer can greatly enhance the process. The benefits are manifold, including faster completion, less physical strain, and a professional-looking finish. This is particularly beneficial for intricate or hard-to-reach areas within a project.
Professional sprayers can primarily be classified into two types: High Volume Low Pressure (HVLP) and Airless sprayers. The main difference between them lies in their operating mechanisms and application methods. HVLP sprayers work at lower pressures and use air to atomize the paint, making them perfect for detailed work and smaller projects. On the other hand, Airless sprayers work at higher pressures, use a piston to pressurize the paint, and are more suitable for larger projects.
When it comes to top-quality professional sprayers, two models stand out: the Wagner Paint Sprayer and the D.B. Smith Contractor Max 190216 2-Gallon Sprayer. These sprayers are adaptable and user-friendly, equipped with multiple nozzles for various spray patterns. This versatility allows users to handle a wide range of tasks with ease. However, the choice of sprayer should be determined by the specific requirements of your project. Factors such as the scale of the project, the type of paint used, and your budget should be carefully considered when choosing a professional sprayer.
Post-Painting Care
To maintain the fresh look of your painted chair, careful post-painting care is essential. The first crucial step is to let the chair dry thoroughly, a process that depends on factors such as the type of paint and environmental conditions. This phase can take anywhere from a few hours to a couple of days.
Once the chair is completely dry, apply a clear protective finish to enhance its appearance and durability. This not only highlights the paint but also protects the chair from potential scratches and stains. Options like polyurethane, polycrylic, or furniture wax are commonly used for this purpose. Consider the look you want: polyurethane usually gives a glossy finish, while furniture wax results in a more subtle, matte look.
Regular cleaning is key to preserving your newly painted chair. However, be cautious when choosing cleaning agents. Opt for mild soapy solutions and soft cloths, and avoid harsh chemicals that could damage the paint.
Remember, taking care of your freshly painted chair doesn’t have to be a difficult task. By following these simple steps, you can enjoy the vibrant, fresh look of your chair for years to come.
Conclusion
In concluding this guide on revamping wooden chairs using spray paint, let’s revisit the key insights highlighted throughout the process. We’ve embraced the versatility and ease of spray painting and explored a step-by-step approach. We emphasized the importance of proper preparation, such as sanding and priming, to ensure a smooth and durable finish. We delved into the significance of choosing the right type of spray paint, specifically formulated for wood surfaces, and considered factors like color options and paint quality for a professional outcome.
Moreover, we stressed the importance of technique: maintaining the correct distance while spraying, using even strokes, and allowing ample drying time between coats, all contributing to a flawless final result. We encourage you, dear readers, to embark on your own spray painting journey. Remember, this process isn’t just about refurbishing furniture; it’s about unleashing your creativity and adding a personal touch to your space.
Embrace the opportunity to transform worn-out chairs into bespoke pieces that reflect your unique style. So, grab your preferred spray paint colors, set up a well-ventilated workspace, and take pride in revitalizing your wooden chairs, allowing your creativity to shine through every stroke. The satisfaction of a DIY project, combined with the transformative power of spray paint, awaits—empowering you to reimagine and reinvent your home decor effortlessly.